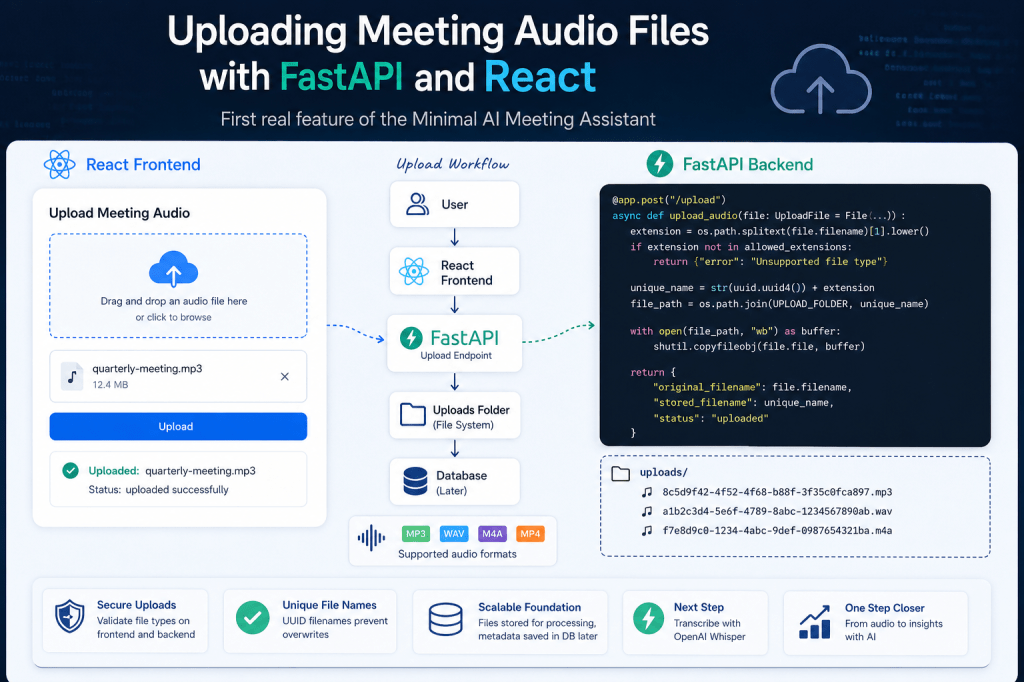
With our development environment now running, it’s time to build the first real feature of our Minimal AI Meeting Assistant: uploading meeting recordings.
Everything else in the system depends on this capability. Before we can transcribe audio, generate summaries, or extract action items, users need a way to upload their meeting recordings.
In this article, we’ll build a simple but production-ready audio upload feature using React and FastAPI.
Screenshots of code snippets added in this article.
What We Will Build
By the end of this article, users will be able to:
- Select an audio file
- Upload it to the backend
- Store it on the server
- Receive confirmation that the upload succeeded
- View upload status messages
Supported formats:
- MP3
- WAV
- M4A
- MP4
Upload Workflow
The upload process looks like this:
User │ ▼React Frontend │ ▼FastAPI Upload Endpoint │ ▼Uploads Folder │ ▼Database (Later)
For now, we’ll simply save files to disk.
Database integration will come later.
Backend: Creating the Upload Endpoint
Navigate to:
backend/
Open:
main.py
Import Required Libraries
from fastapi import FastAPI, UploadFile, Filefrom fastapi.middleware.cors import CORSMiddlewareimport shutilimport os
Configure FastAPI
app = FastAPI()
Add CORS support:
app.add_middleware( CORSMiddleware, allow_origins=["http://localhost:5173"], allow_credentials=True, allow_methods=["*"], allow_headers=["*"],)
This allows the React frontend to communicate with the API.
Create Upload Directory
Add:
UPLOAD_FOLDER = "uploads"os.makedirs(UPLOAD_FOLDER, exist_ok=True)
FastAPI will automatically create the folder if it doesn’t exist.
Create Upload Endpoint
Add:
app.post("/upload")async def upload_audio(file: UploadFile = File(...)): file_path = os.path.join( UPLOAD_FOLDER, file.filename ) with open(file_path, "wb") as buffer: shutil.copyfileobj(file.file, buffer) return { "filename": file.filename, "status": "uploaded" }
Full Backend Example
from fastapi import FastAPI, UploadFile, Filefrom fastapi.middleware.cors import CORSMiddlewareimport shutilimport osapp = FastAPI()app.add_middleware( CORSMiddleware, allow_origins=["http://localhost:5173"], allow_credentials=True, allow_methods=["*"], allow_headers=["*"],)UPLOAD_FOLDER = "uploads"os.makedirs( UPLOAD_FOLDER, exist_ok=True)@app.post("/upload")async def upload_audio(file: UploadFile = File(...)): file_path = os.path.join( UPLOAD_FOLDER, file.filename ) with open(file_path, "wb") as buffer: shutil.copyfileobj( file.file, buffer ) return { "filename": file.filename, "status": "uploaded" }
Testing the Backend
Start FastAPI:
uvicorn main:app --reload
Open:
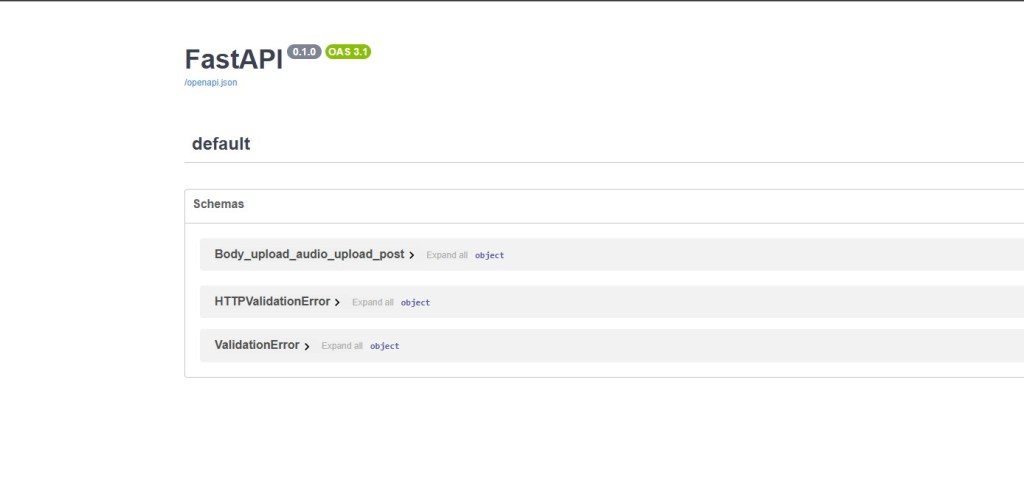
http://localhost:8000/docs
You should now see:
POST /upload
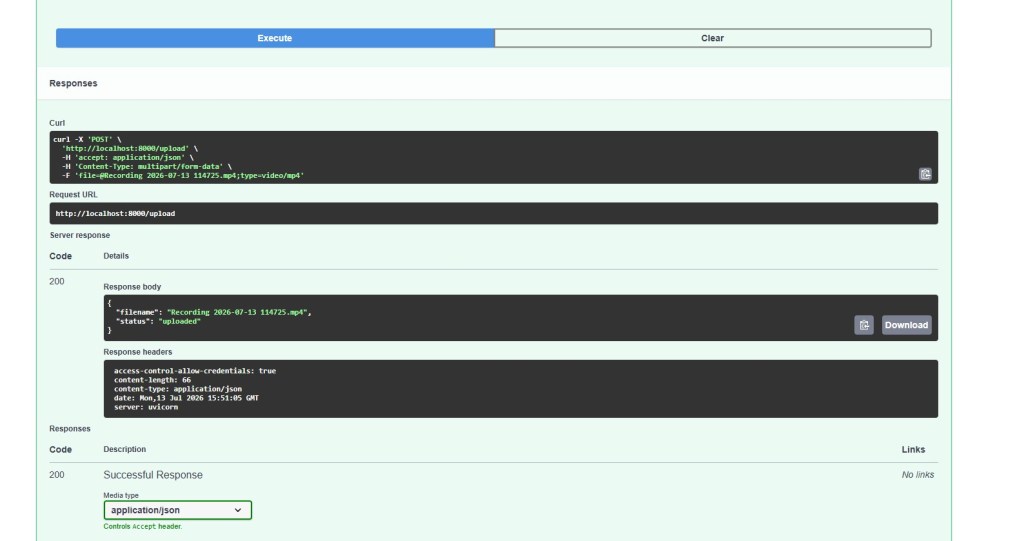
Try uploading an audio file directly from Swagger UI.
If successful:
{ "filename": "meeting.mp3", "status": "uploaded"}
Creating the React Upload Component
Navigate to:
frontend/src
Create:
components/ AudioUploader.tsx
React Component
import { useState } from "react";function AudioUploader() { const [file, setFile] = useState<File | null>(null); const [message, setMessage] = useState(""); const uploadFile = async () => { if (!file) { return; } const formData = new FormData(); formData.append( "file", file ); try { const response = await fetch( "http://localhost:8000/upload", { method: "POST", body: formData } ); const result = await response.json(); setMessage( `Uploaded: ${result.filename}` ); } catch { setMessage( "Upload failed" ); } }; return ( <div> <input type="file" onChange={(e) => { if (e.target.files) { setFile( e.target.files[0] ); } }} /> <button onClick={uploadFile} > Upload </button> <p>{message}</p> </div> );}export default AudioUploader;
Add Component to App.tsx
Open:
src/App.tsx
Replace contents:
import AudioUploader from "./components/AudioUploader";function App() { return ( <div> <h1> Minimal AI Meeting Assistant </h1> <AudioUploader /> </div> );}export default App;
First Upload Test
Start frontend:
npm run dev
Start backend:
uvicorn main:app --reload
Open:
http://localhost:5173
Select:
meeting.mp3
Click:
Upload
Expected result:
Uploaded: meeting.mp3
Adding File Type Validation
We only want audio files.
Add:
const allowedTypes = [ "audio/mpeg", "audio/wav", "audio/x-wav", "audio/mp4", "audio/m4a"];
Before uploading:
if ( !allowedTypes.includes( file.type )) { setMessage( "Unsupported file type" ); return;}
Backend Validation
Never trust frontend validation alone.
Add:
allowed_extensions = [ ".mp3", ".wav", ".m4a", ".mp4"]
Validate:
extension = os.path.splitext( file.filename)[1].lower()if extension not in allowed_extensions: return { "error": "Unsupported file type" }
Preventing Filename Collisions
What happens if two users upload:
meeting.mp3
The second upload overwrites the first.
Let’s generate unique filenames.
Import:
import uuid
Create:
unique_name = ( str(uuid.uuid4()) + extension)
Save:
file_path = os.path.join( UPLOAD_FOLDER, unique_name)
Example:
8c5d9f42-4f52-4f68-b88f-3f35c0fca897.mp3
Returning Metadata
Improve response:
return { "original_filename": file.filename, "stored_filename": unique_name, "status": "uploaded"}
This metadata will later be stored in PostgreSQL.
Project Structure After This Step
minimal-ai-meeting-assistant├── backend│ ├── uploads│ ├── main.py│ └── requirements.txt│├── frontend│ └── src│ └── components│ └── AudioUploader.tsx│├── transcripts├── summaries└── docs
Why This Matters
Although file uploading seems simple, it forms the foundation of the entire meeting intelligence pipeline.
Every future feature depends on it:
Audio Upload │ ▼Transcription │ ▼Summary Generation │ ▼Action Item Extraction │ ▼Meeting Search │ ▼Meeting Intelligence
Without a reliable upload process, nothing else can happen.
What We’ll Build Next
Now that users can upload meeting recordings, the next logical step is processing them.
In the next article:
Transcribing Meeting Audio with OpenAI Whisper
We’ll build:
- Whisper integration
- Automatic transcription after upload
- Transcript storage
- Error handling
- Long audio processing
- Preparing transcripts for AI summarization
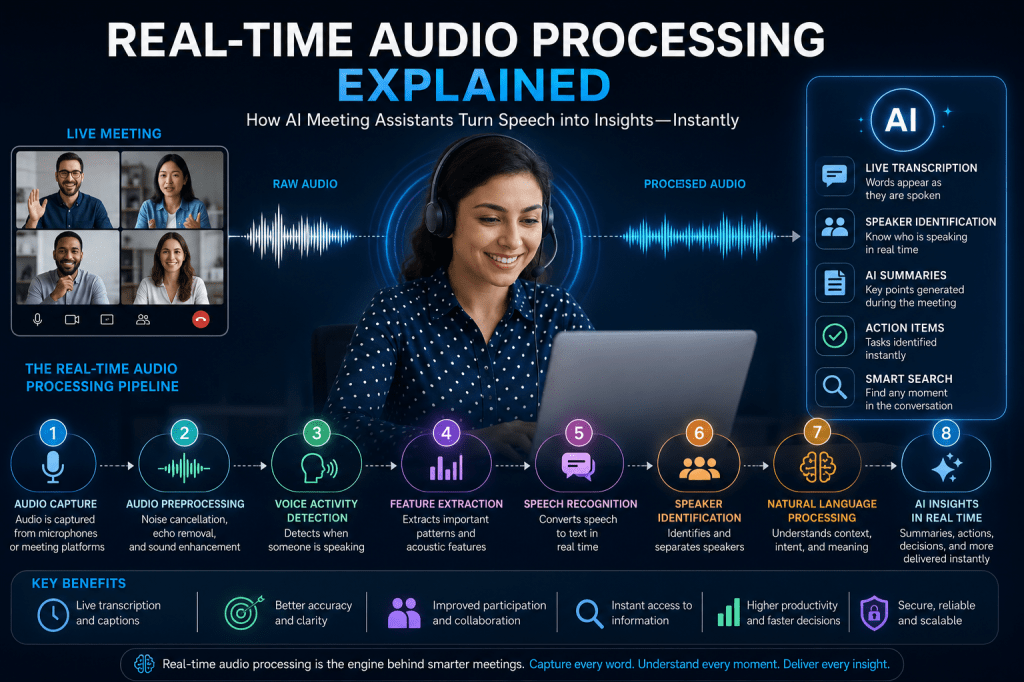
This is where the Minimal AI Meeting Assistant starts becoming genuinely intelligent.




 Meeting Notes AI